Instagram-Ready Hair: How a Heatless Curler + Photo Tips Create Perfect Waves
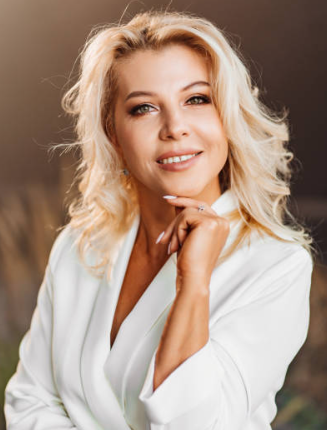
On social media, great hair isn’t just an accessory—it’s content. Achieving those soft, voluminous, “effortless” waves for the camera can be a struggle with damaging hot tools. Enter the heatless hair curler. A tool like the popular Octopus-style heatless curler creates gorgeous, photo-ready curls without heat, while the right photography techniques make them shine. This guide combines styling with shooting to help you create scroll-stopping content.
Why a Heatless Hair Curler is a Content Creator’s Secret Weapon
It solves multiple problems for anyone creating visual content.
- Camera-Friendly Curls: Heatless methods create softer, more natural-looking waves than tight, hot-tool curls. This “lived-in” texture photographs beautifully, adding volume and movement that looks authentic, not overdone.
- Saves Pre-Shoot Time: No 30-minute sectioning and curling with a hot iron. Set it and forget it—often overnight—and wake up or unwind to ready-to-shoot hair.
- Preserves Hair Health for the Camera: Heat damage leads to frizz and dullness, which is magnified in HD photos. Heatless curling keeps hair shiny and smooth, ensuring it looks healthy and vibrant in every shot.
- Long-Lasting for Shoot Days: The curls from a quality heatless curler hold for hours, surviving multiple outfit changes, location moves, and different lighting setups without falling flat.
The Photo-Ready Styling Routine with an Octopus Curler
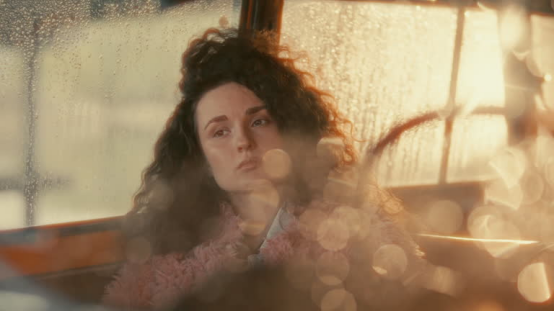
Step 1: Prep for Perfect Waves
Start with clean, 90% dry hair. Apply a light leave-in conditioner or curl cream to damp hair to enhance definition and reduce frizz. For extra hold and volume, a light mousse at the roots is a pro trick.
Step 2: The Octopus Wrap Technique
- Section: Divide hair into two main sections (left and right).
- Wrap: Take the Octopus curler and place the end of one hair section at the top of the center rod. Gently wrap the hair down and around the rod, fanning it out to use the surrounding “tentacles” for a secure, even wrap. The multi-armed design helps distribute hair evenly for uniform waves.
- Secure: Use the included silk scrunchies or clips to secure the ends. Repeat on the other side.
- Set: Leave in for a minimum of 3-4 hours, or ideally, overnight while you sleep.
Step 3: The Photo Shoot Release
- Gently unwrap the rods.
- Do not brush! Use your fingers to gently separate and tousle the waves. This creates the soft, romantic volume that looks incredible on camera.
- Flip your head upside down and shake at the roots for added volume.
- A light mist of texturizing or flexible-hold spray will lock in the shape without stiffness.
Pro Photography Tips to Showcase Your Heatless Curls
1. Master the Light
- Golden Hour is Your Best Friend: Shoot during the hour after sunrise or before sunset. This soft, warm, directional light will make your hair glow, highlighting every wave and creating beautiful highlights.
- Window Light: For indoor shots, face a large window. The soft, diffused light is incredibly flattering for hair texture.
- Avoid Harsh Overhead Light: Midday sun or bright ceiling lights create unflattering shadows and can make hair look flat or greasy.
2. Nail the Angles & Poses
- The 3/4 Turn: Slightly turn your body and face away from the camera. This angle shows off the dimension and body of your waves.
- The “Looking Away”: Have the photographer capture you from the side or back as you look away. This emphasizes the hair’s length, wave pattern, and volume.
- Movement Shots: Ask your photographer to take a burst of photos as you slowly turn your head, run your fingers through your hair, or laugh. Capturing motion makes the curls look dynamic and alive.
3. Styling & Composition
- Props & Context: Incorporate your surroundings. A breeze at the beach, a cozy sweater, or a coffee cup in a café adds storytelling and makes the hair look naturally styled for a moment, not a photoshoot.
- Get Detail Shots: Don’t just take face-on portraits. Get close-up shots of the wave pattern over your shoulder or down your back. This highlights the quality of the curl.
Platform-Specific Ideas
- Instagram Reels/TikTok: Create a satisfying “unwrap” tutorial or a before/after transformation video. Use trending audio.
- Instagram Carousel: Post a series: 1) The wrapped curler, 2) The unwrap moment, 3) A detail shot, 4) A final full-body portrait.
- Pinterest: Focus on high-quality, vertical “hair inspiration” shots that clearly show the wave pattern.
Conclusion: Your Formula for Like-Worthy Hair Content
Exceptional social media hair is a blend of the right tool and the right technique. A heatless hair curler gives you the foundation—beautiful, healthy, lasting waves. Pair it with intentional photography, and you have a powerful recipe for creating engaging, attractive content that stands out.
Ready to create your own hair content magic? Get the Octopus heatless hair curler that makes camera-ready waves effortless.